Living Room Remodel
Cheryl, and I have now been in our new home for 2 1/2 years. When I wake up and open the shades in the living room and look out at the mountains of California I wonder if I should pinch myself. From the Summer thunderstorms to the snows of Winter it is absolutely wonderful to be in such a beautiful place.
Okay, so what's so big about a living room remodel? Really, it's because it
includes my hallway, spraying 6 doors, jambs, and casings. The walls and
ceilings will get sprayed, and the base will be removed and replaced for a new
Pergo XP laminate floor.
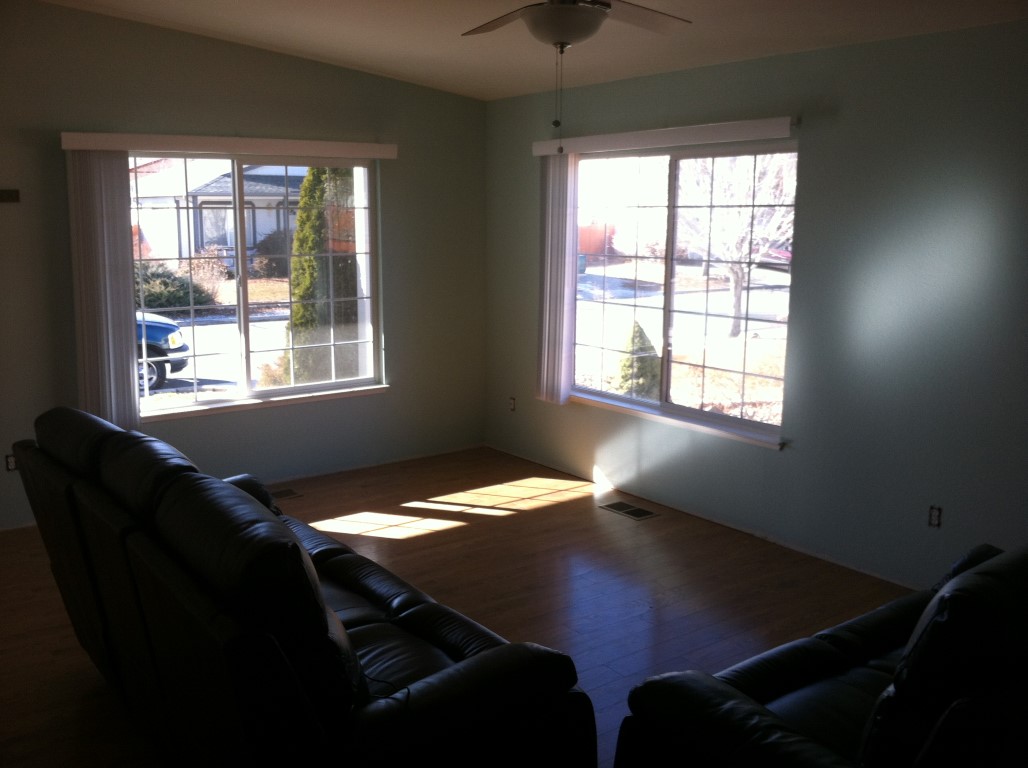
First, I moved all the furniture out.

Then I pulled all the carpet & pad. What a nasty job. Got it loaded in
the truck and hauled it to the dump. I asked Cheryl for $100, and when I got
there it was $6.50. Wow, in California it would have been $60 to $80. The rest I
can set cans outside and my weekly guy takes it, but he complains about carpet
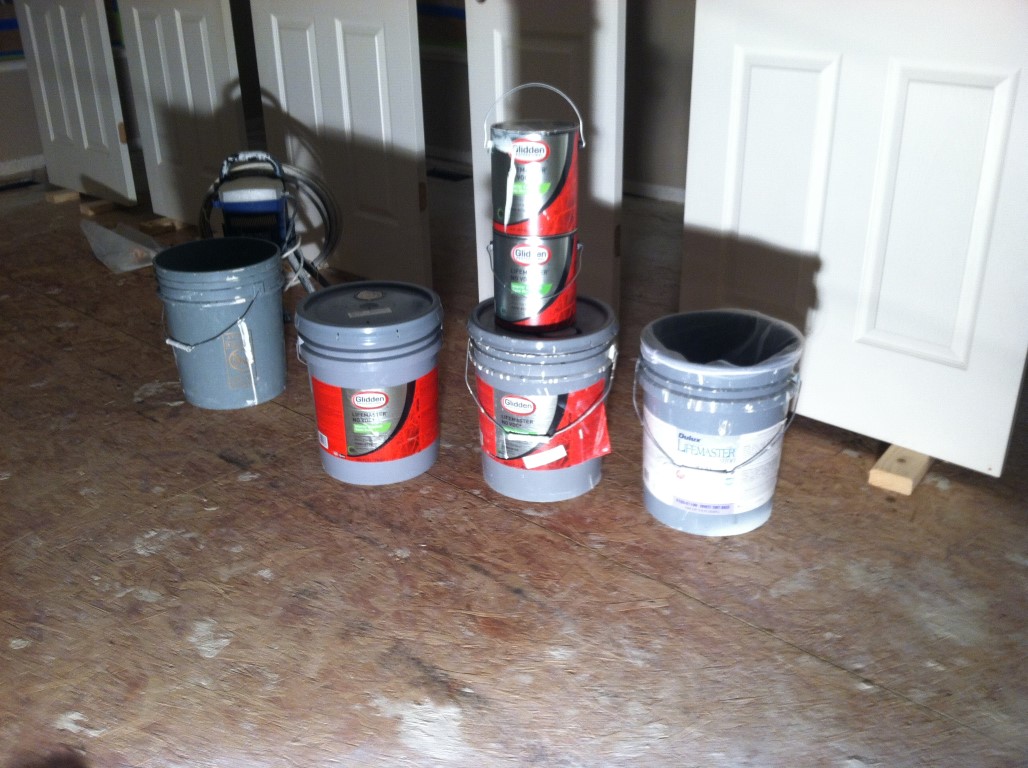
for some reason. The green brushout on the wall will be an accent color for 2
walls. It's Glidden Pro Port of Norway. I bought 5 gallons of the base color
today, and the gave me a quart to bring home for free.

Day 3
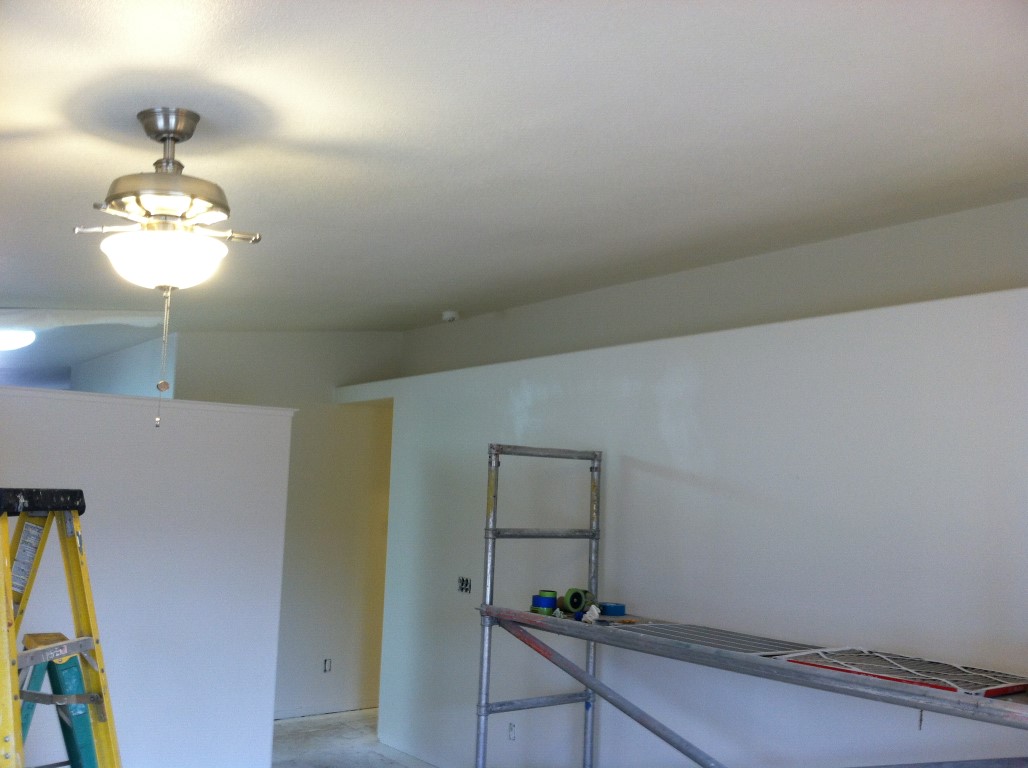
I got all the base off this morning, and built my separation wall between the
kitchen & living room. Now I can paint without worry of overspray in my
kitchen.

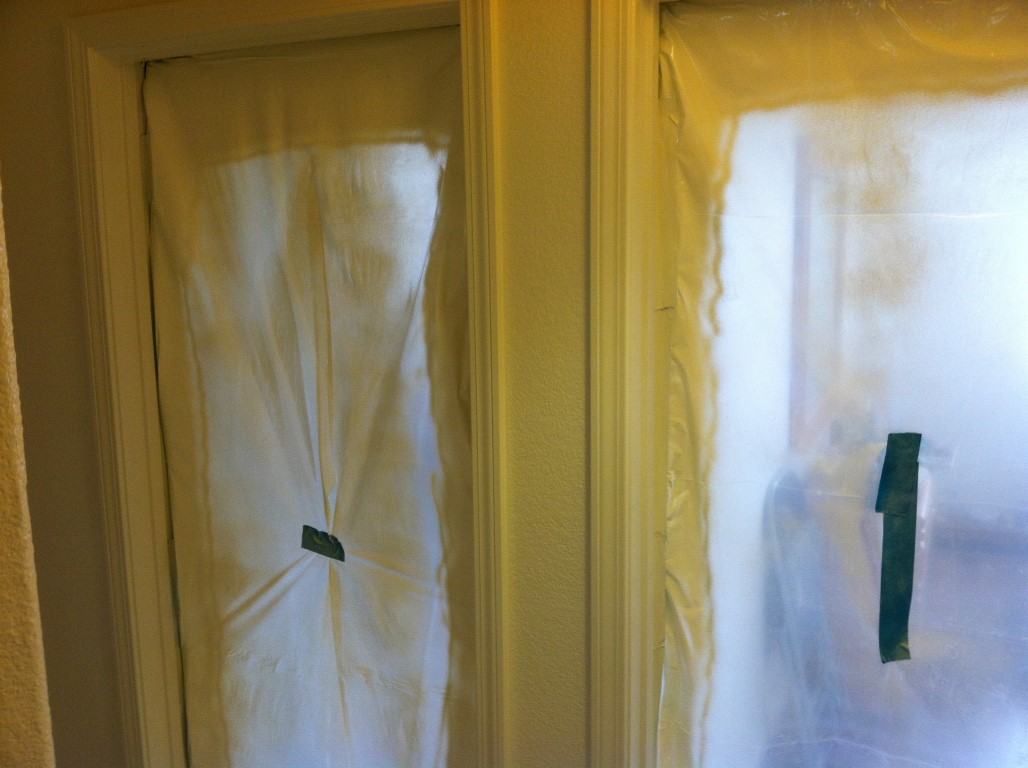
First I put 1/8" Masonite on top of the casework, and then hung 4 mil
visqueen off a light gauge angle. I'd rather patch a few screw holes than worry
about it coming down. My last room I used silver Nashua duct tape and it didn't
stick well, so I called down to Las Vegas and ordered Abatix green tape. All
tape glue adhesive is different, some blue tapes you can leave on longer, but
have less glue. I use a medium + blue tape on any drywall surface, and then the
Abatix tape to stick the visqueen to the blue tape. Using the Abatix directly to
drywall would leave glue residue and possibly pull the facepaper off the
drywall.
Note the additional visqueen taped up where the opening is, so it's ready to
drop and complete the seal once ready too paint.

Day 4
Kind of a slow today, but got a lot of little things done. I started by mixing a
small amount of hot mud to patch some screw pops at the top of the front wall.
Pulled all the plug covers, and caulked the windows. Vacuumed the shelf above
that had a lot of dust. Then got my doors setup for paint tomorrow. I'm also
awaiting my floor material to be delivered. I ordered it on the 12/22/13 from
Home Depot online being delivered by Estes shipping, and they gave no window of
when they'd be here.
BTW, years ago I worked for a guy Jim Aston at Nicholls Company (great guy), who
grew up as a painter in San Francisco and he taught me that elastomeric caulk is
the best. I used it today, and it is a 40 to 50 year product. The things you
learn from old guys.

Day 5
Got up early this morning and got right to work. I wanted to use up some excess
paint I had, so I got everything ready to strain into a clean bucket. If you
don't strain old paint it will clog up the filters on the sprayer, and most
likely get little pieces of crud in your finish. There was probably 3 gallons
once strained. Strainers are available at most professional paint stores for all
types of different paints including automotive.
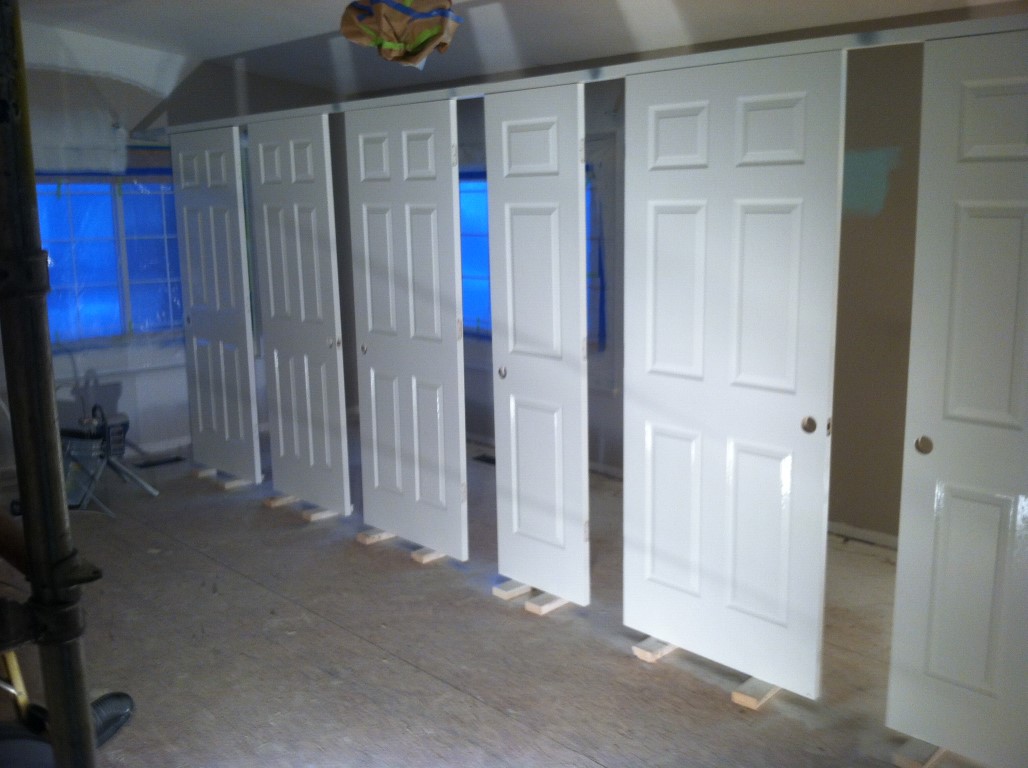
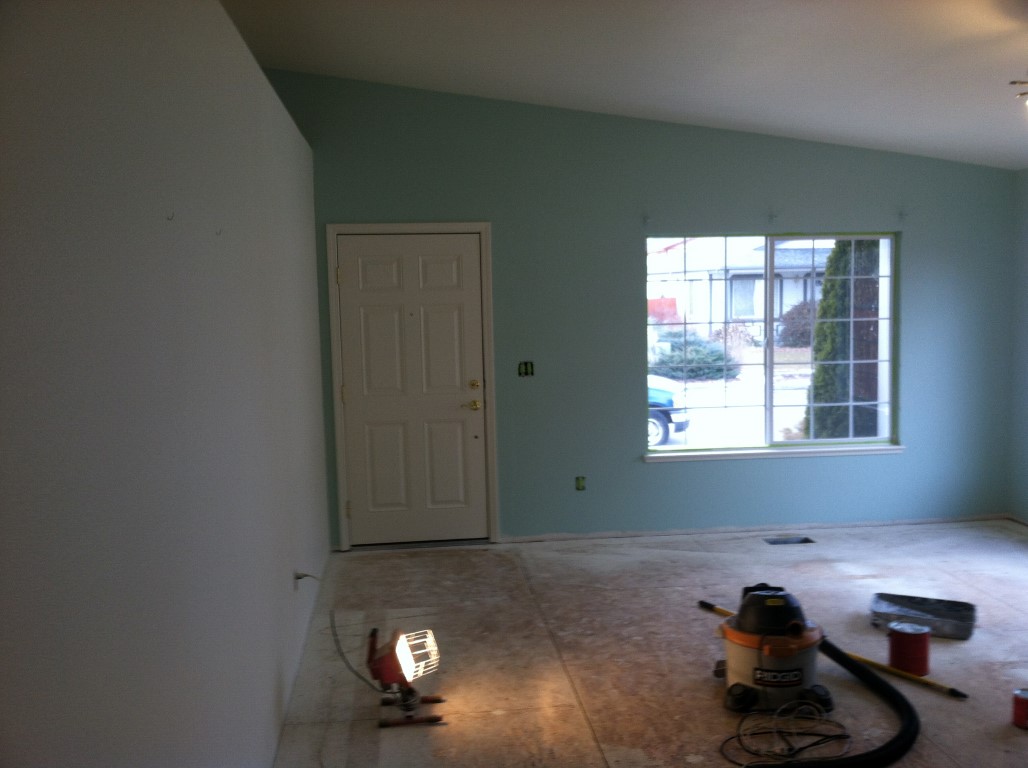
I sprayed the window stools while I was there, so I can get as many coats on
them as possible. I had been wanting to spray these doors since I bought the
house just because the little marks here and there drove me crazy. Now they're
coated with a high solids, quality, and washable paint. The people prior to us
had bought the home new, and had raised kids here. I'm only doing one coat
because it seemed to cover quite well and it is the same color.
Day 6
I must admit that after I posted yesterday I spent the rest of the day getting
everything else prepped for today. I sprayed a little more than 5 gallons this
morning, and all the containment worked well with no paint getting into adjacent
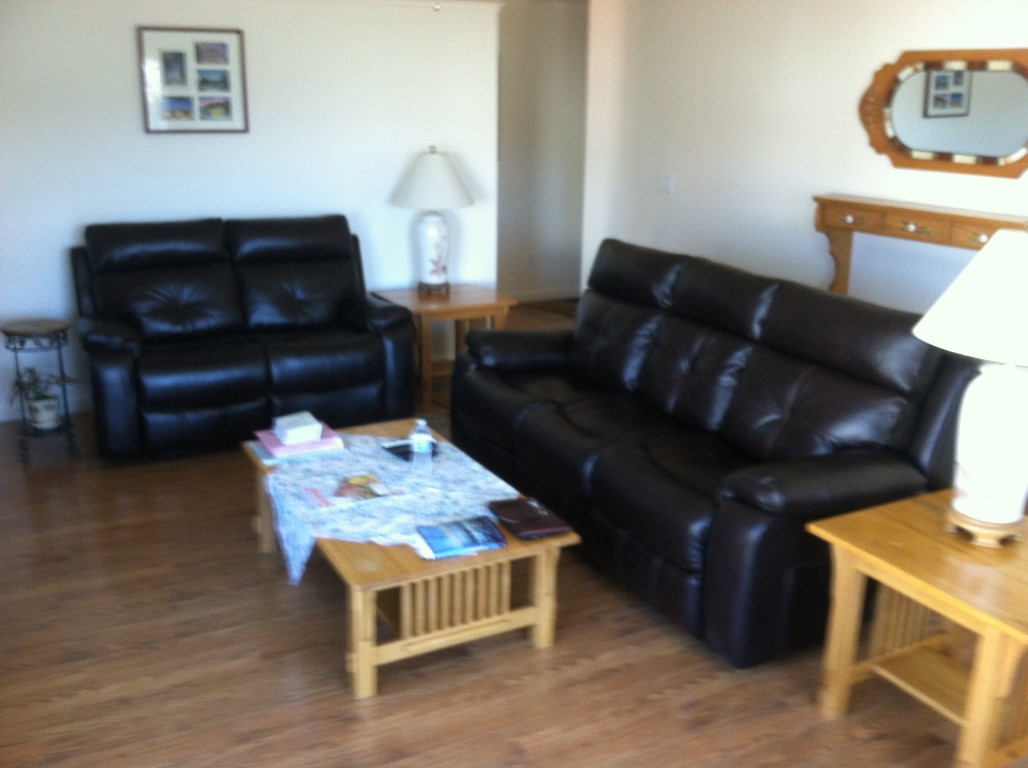
rooms. I am getting tired, but will keep getting something done daily. We want
to buy 2 new couches at Costco, but can't have them delivered until I get some
floor down.
Last Spring I painted my front door exterior with PPG automotive urethane
topcoat I had left over. It gets pretty cold here at night, so I came up with
this idea. I stuffed the door reveal with backer rod (round foam), pulled all
the hardware except the deadbolt latch. It's still a bit wet, so I haven't
opened, but it should work.
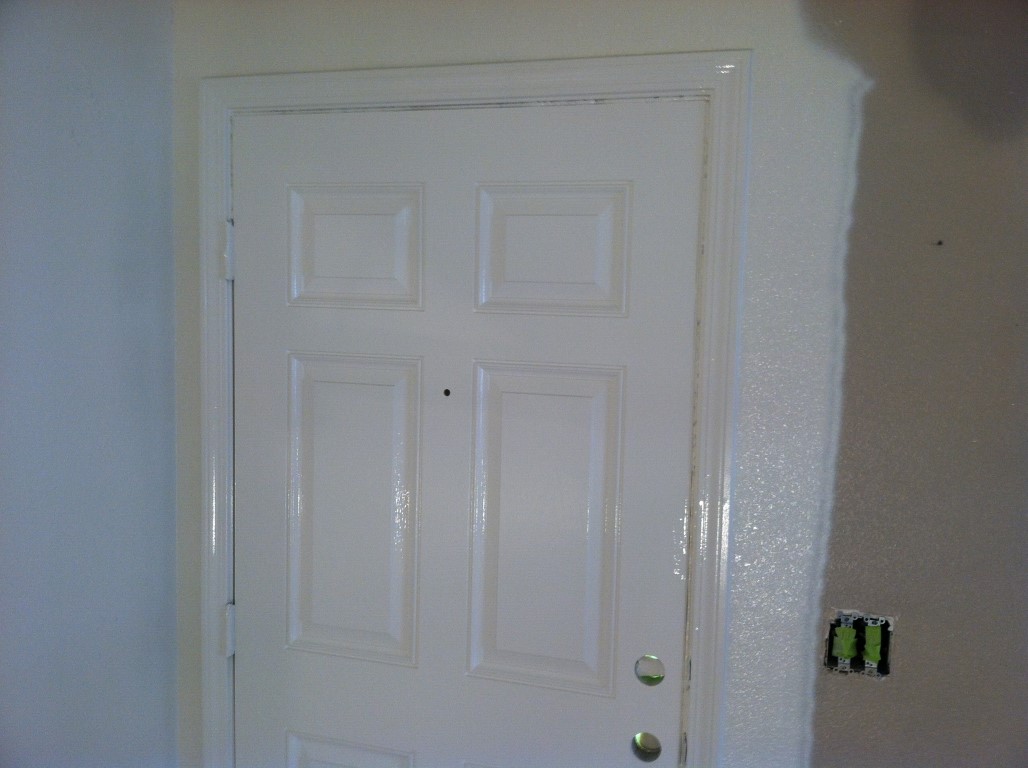
It's now starting to flash off to the eggshell finish.

Now you can see why I brought my scaffold inside. it made prepping, and
spraying way easy than going up and down a ladder a zillion times.
Day 7
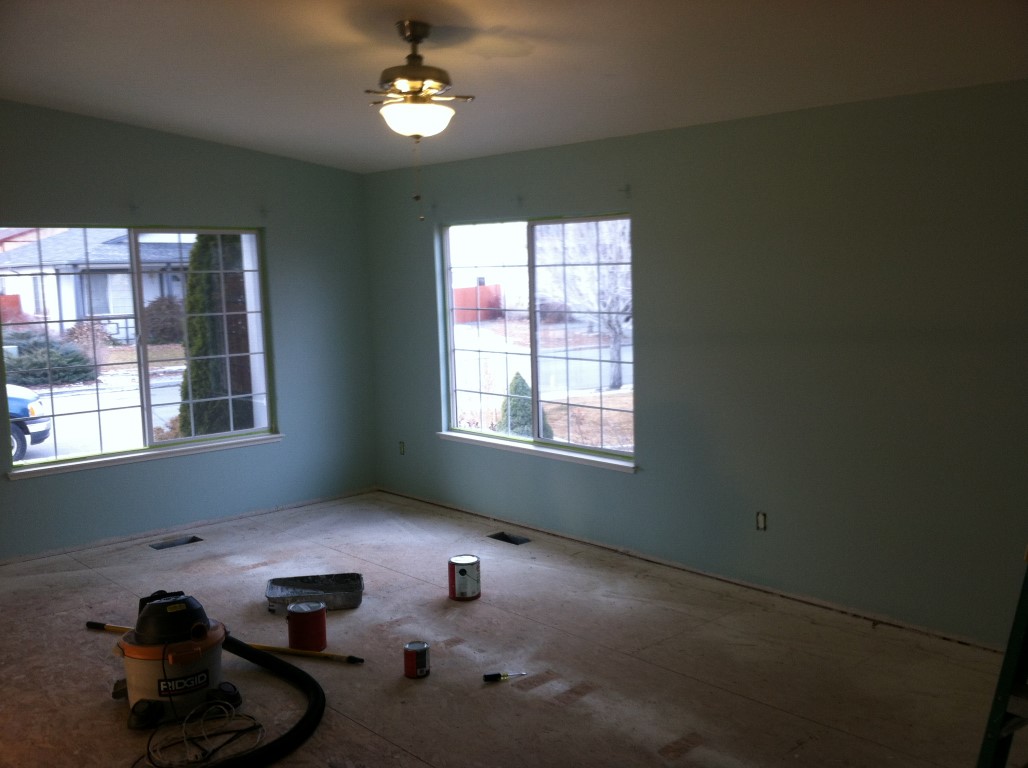
Started today with painting on an accent color on 2 walls. With the floor being
brown, and the new couches we decided too use something different. Looks a
little bluer than what I originally wanted, but will contrast all the brown.
I got the scaffold and ladders moved out, so tomorrow I'll start the floor.
Day 8
Taking a forced break with a cup of coffee, because I was out in the garage
getting setup before 6 am. Date night tonight, so I have to save some energy.
Having been a Union Carpenter for 35 years now, I love this floor. I took the
advice from a friend and made my joints random. Just snap it together and keep
it tight. I've seen laminate installs where they have gaps that looks really
bad. I just cut up little pieces to knock them tight and it looks great. Our new
couches are coming on Sunday, so I've got to get enough down to set them on top.
My hands are getting sore, maybe Cheryl will rub them for me like she did when I
was working?
I will add this: I have a table saw, jigsaw, and saw table with a mitre saw out
the garage. I've got a propane heater out there with satellite radio playing
Willies Roadhouse.
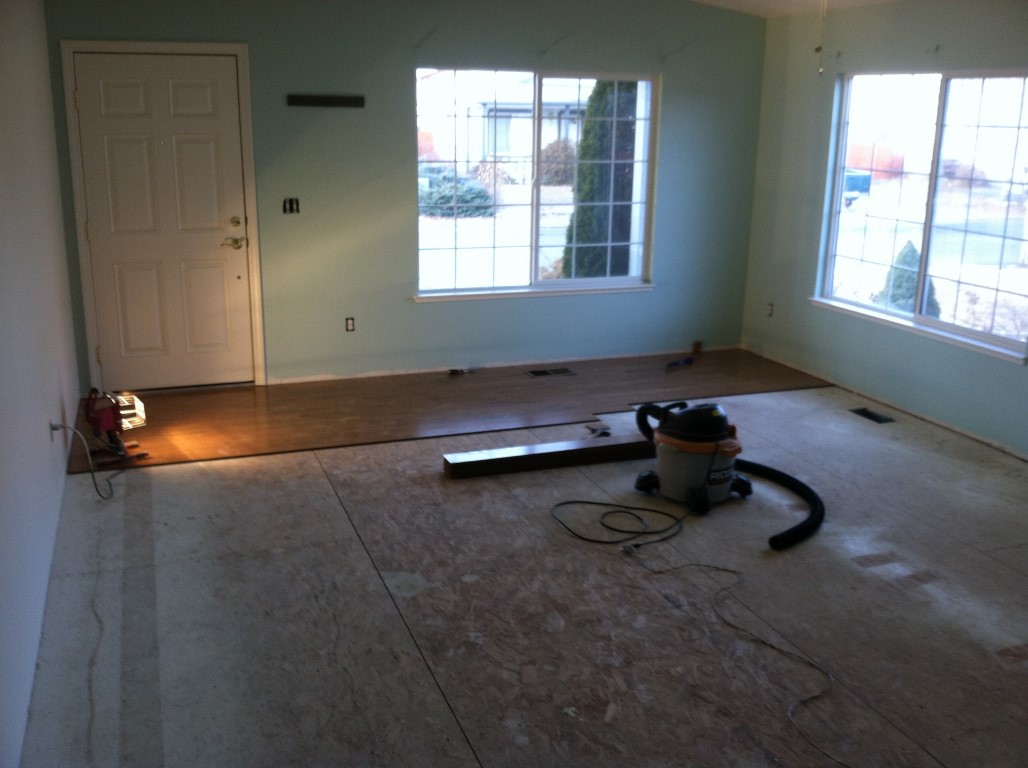
I got the big room done, so all I have left is the hallway. I'm really tired
and should slow down, but it's just not my nature. Now I know why I never sat
home in 33 years.

Day 9
What have I learned tech wise? Pergo is wrong about being 4 7/8" wide. I
had planned in advance to have close to equal margins in the hallway starting at
the front door. When I got to the hallway last night I knew something was up.
After stewing on it all night I learned this morning that it grows by 1/2"
every 10 boards. Oh well, beyond my control, so I gotta go with it.
Okay, facing your work this system works left to right with the female toward
you, and male away. I actually ran this material transverse (width) rather than
longitudinal (length) which goes against the common install. I did it so it
would line up with other rooms, and I thought the hallway might be easier.
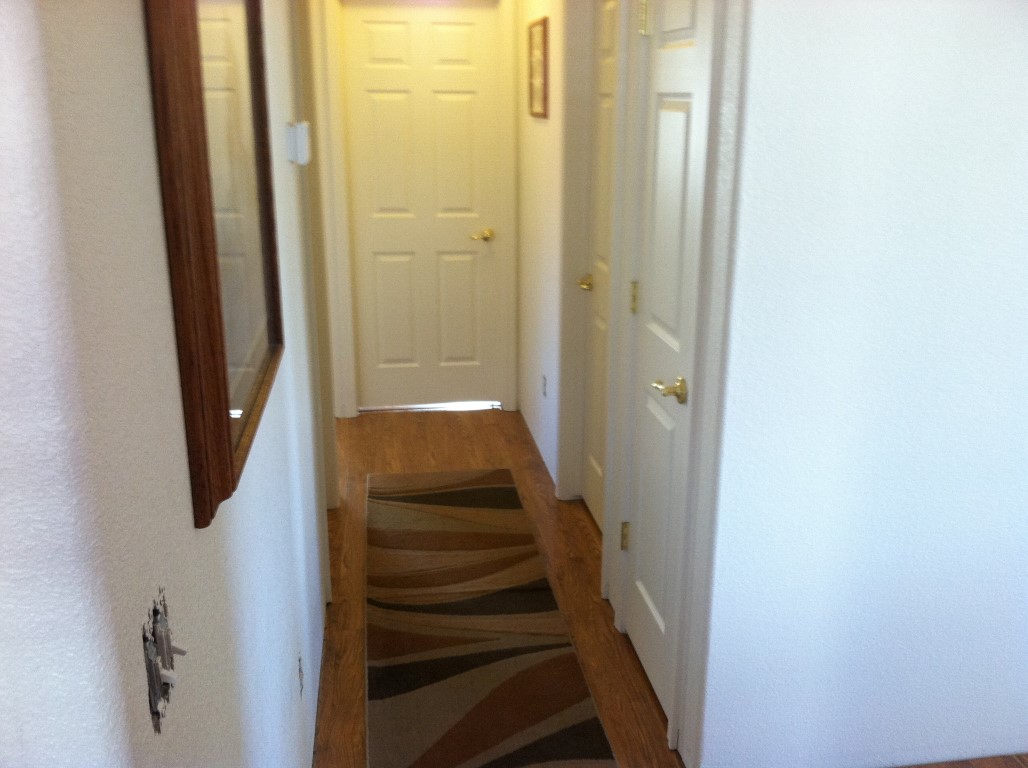
Here I am snaping a line, so I can start at the opposite end of the hall, and
back of closet. usually I would use blue chalk in a finish application, because
of red dye.

My first row in the hall was tough going getting everything under door jambs
and casings.

The little closet I worked out of.

I was glad to be done, so I could watch football playoffs.

I used a different material than the other rooms, and glad I made the change.
Note: Door transitions are directly under doors when closed, so each room's
floor is not visible once door is shut.

Day 10
Cheryl helped me swing the doors this morning, and I got all the hardware on.
Then I put 2 more transition strips on with 1 left that requires base first.
Then I put back up the shades with new vanes. We wanted new, but we couldn't
agree on kind, so we decided to keep these with new vanes. These are open quite
often in the warm months (all 3 of them).
We had these delivered from Costco, got some of my mess cleaned up in the
garage, and got the base painted.

Day 11
Got all the base nailed on, and a final clean of sawdust in my garage. next is
to get the base puttied, caulked and painted.

Day 12
100% of construction complete as of today. I put blue tape on the floor where
every nail was, and the puttied every one. I caulked the top, and joints and
went to the doctor. when I got home I sanded the putty lightly, and then painted
all. waited an hour and one half and pulled up the tape. installed the
transition strip at the kitchen, and the door stop for the closet that mounts on
the base.


Day 13
If I were to give any advice it would be to do something everyday, and if it
doesn't look right redo it now before you go any further.
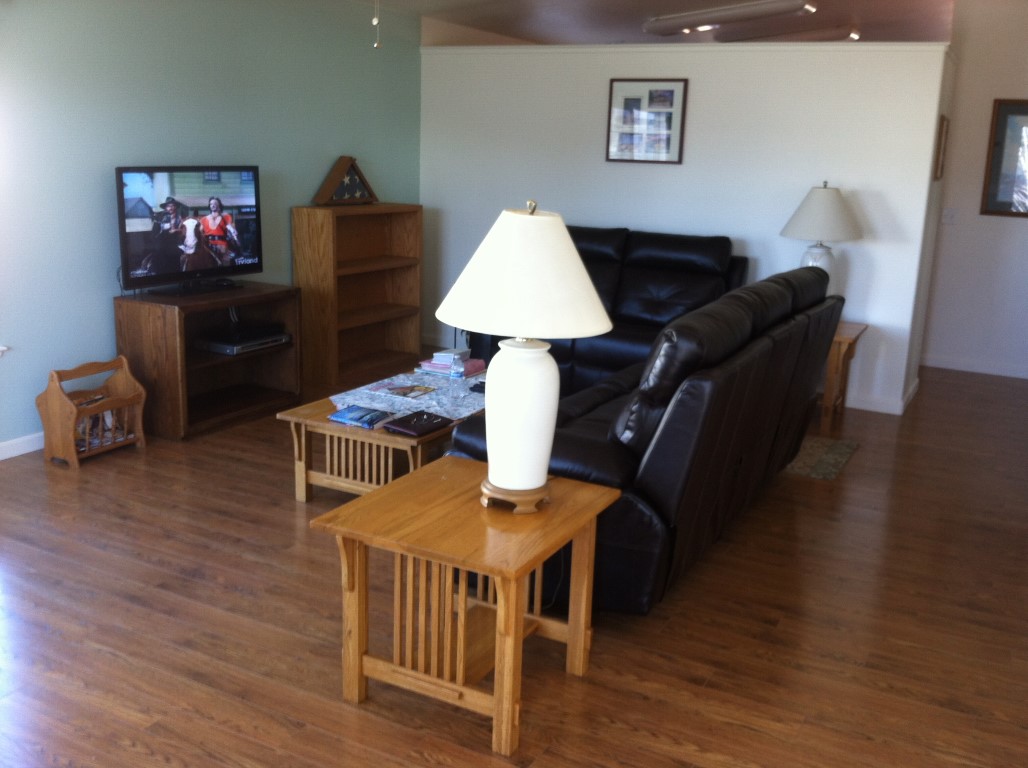
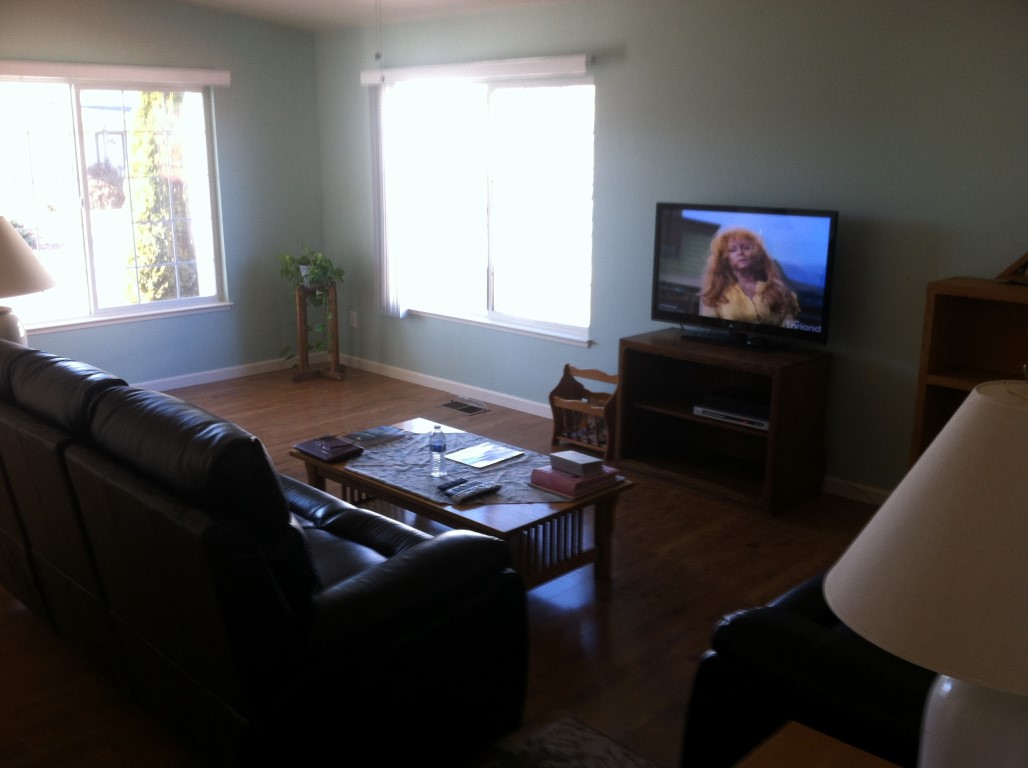
All the furniture is moved back in, and my Cheryl asked not to put anything on
the shelves which I gladly agreed. I like this configuration, because it allows
us to look out the windows at the Sierra Nevada mountains. When you come in the
door you don't have to walk through the sitting area either (I know you don't
like it mom). We're now on the hunt for some area rugs.
This was completed in mid January 2014. Since that time I've been able too paint the kitchen, so our entire house has now been painted, except the laundry room, and walk in closet. The garage is almost 100% level 5 smooth wall with a small section left awaiting insulation above. I'm still reading almost every morning, and currently reading former defense secretary Robert Gates book (what a great guy). The Chevy guys keep me busy tuning, and I walk almost every day the weather is good.
Here I am out goofing around with Slash last April. It was in the mid 50's and felt warm with the sun out. January was really cold last year.